 By Simon Buddle, Future Ready Homes.
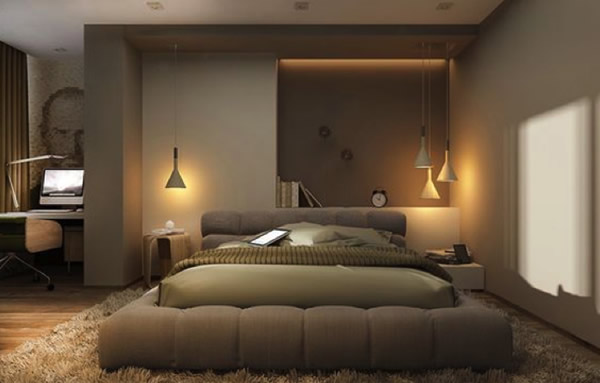
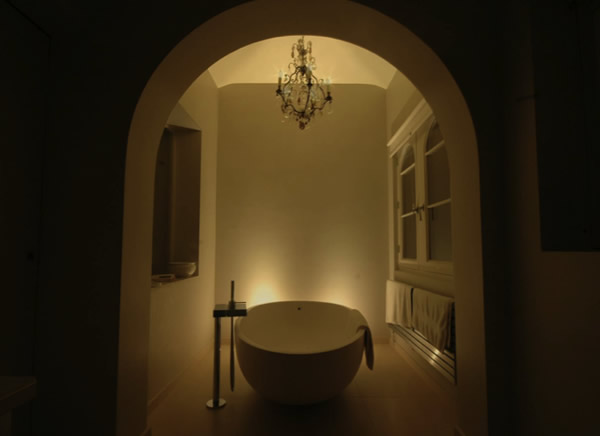
Next to interior design, one could argue that beautiful lighting can make a room. That combination of aesthetic design and the subtleties of a good lighting design create style, mood and elegance within any room. Bland design or harsh light will kill a room’s mood. Indeed, it was the initially harsh light output of LED that kept lighting designers from using it as a light source for many years, as they were terrified of the dentist’s waiting room look.
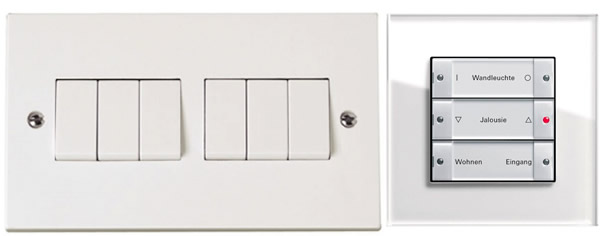
For installers, the setting of lighting scenes usually represents a headache at the end of the job. Lighting keypads and the vast array of buttons typically plastered onto them can really suck the fun out of finishing a job. There may be thirty or considerably more keypads around the property, often with at least six buttons on each. That’s the better part of two hundred buttons right there. Each one has to be programmed and, probably, many of them will have to be reprogrammed once the customer moves in and begins to get a feel for how they’d like the lights to be setup.
Initial setup
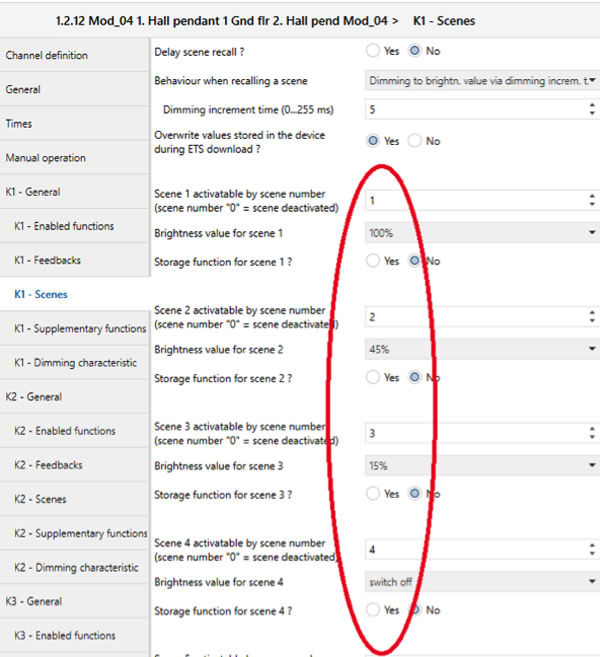
My default for any new project is to take an existing ETS product template file that I use to copy and paste across the project. With all lighting dimmers, I set up four scenes so that they are the same on every output. I always use scene numbers 1 to 4 and set the levels. Now I have an actuator that has a basic set of scenes programmed.
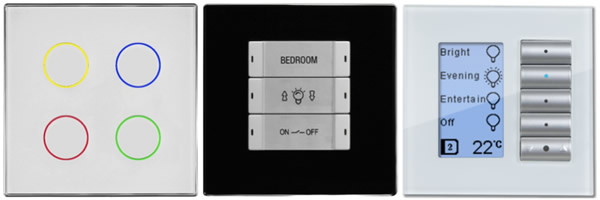
Then I get the relevant keypad for the project and set it up for scene control; scenes 1 to 4. Whilst setting the scenes in the keypad, I also ensure that I setup the LED feedback so that it works with the scenes and the off button has a red LED. We now have both keypad and dimming actuator that can be copied across the project.
Once we’ve completed setting up the correct parameters, it’s a relatively straightforward job to connect the buttons and actuator channels to a ROOM_SCENE group address. If we have more than one keypad in a room, then this simple scene setup makes life very easy for us.
Practical completion
Often referred to as substantial completion, this is a milestone on our project’s timeline. The point in time when the project is handed from builder to owner for occupation. At the time of hand over, it is likely that we will be required to demonstrate that our systems are fully functioning.
By employing the scenes method, it is very easy to demonstrate that every button in every room does control every light in that room. Getting system sign off means that we can get paid for that portion of the project, so clearly the ability to prove that every button works is vital.
By this stage, keypad engraving or at least temporary labels should also be installed. Ideally, a discussion drawing or document that has suggested engraving should have been viewed by the homeowner so that the button engraving can be installed before they move in. After all, changing a light level in a scene will not change how it is labelled on the button.
Then of course comes the client customisation period, requiring endless visits to site or remote logins to make changes. If a lighting designer is involved, it’s quite probable that we’ll need to spend time with them going room by room in order to get each light level of every scene just right. That usually has to be done at night, which can be a pain in the summer months.
One way that we can avoid this is if we give the customer the ability to save their own scenes. This is a great function that is often not available on other lighting control systems.
Customer saving scenes
If we do offer the customer the ability to save their own scenes, there are a couple of important elements that we need to consider.
1. How do we save the scenes?
This can be done on the dimming actuator channel itself, in which case a parameter has to be enabled on both the keypad and the actuator. Another method is to use a graphical user interface that can store the light level values.
2. How does the client change the light levels for each circuit?
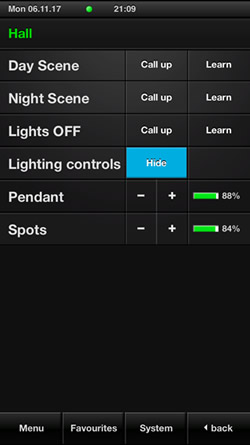
Even more fundamental is giving the customer the ability to change the level of each circuit within a scene. This is going to be difficult with keypads unless you’ve got a button per circuit. So, to do this will almost certainly require a GUI. Each circuit should be added as either an on/off switch or dimming level controller alongside the scene buttons. The client can then choose to call up or ‘learn’ a scene, giving them an easy method of creating their own scenes.
Conclusion
Scene setting can be a very simple way for us to program the lighting for a customer, enabling us to demonstrate we’ve done our job and get paid. But to create truly stunning aesthetics with light takes time, patience and effort on our part, that can impact on our bottom line. So, one option might be to give the customer the ability to save their own scenes.
Both options present the opportunity for us to demonstrate our skills and professionalism, but be sure to charge accordingly, or it will be seen simply as a burden that your company wants to offload at the earliest opportunity. Do a great job, get paid for it and make sure everybody is delighted with what you’ve done. Repeat.
Simon Buddle is a consultant for Future Ready Homes, a specialist in BMS and ELV services system design.